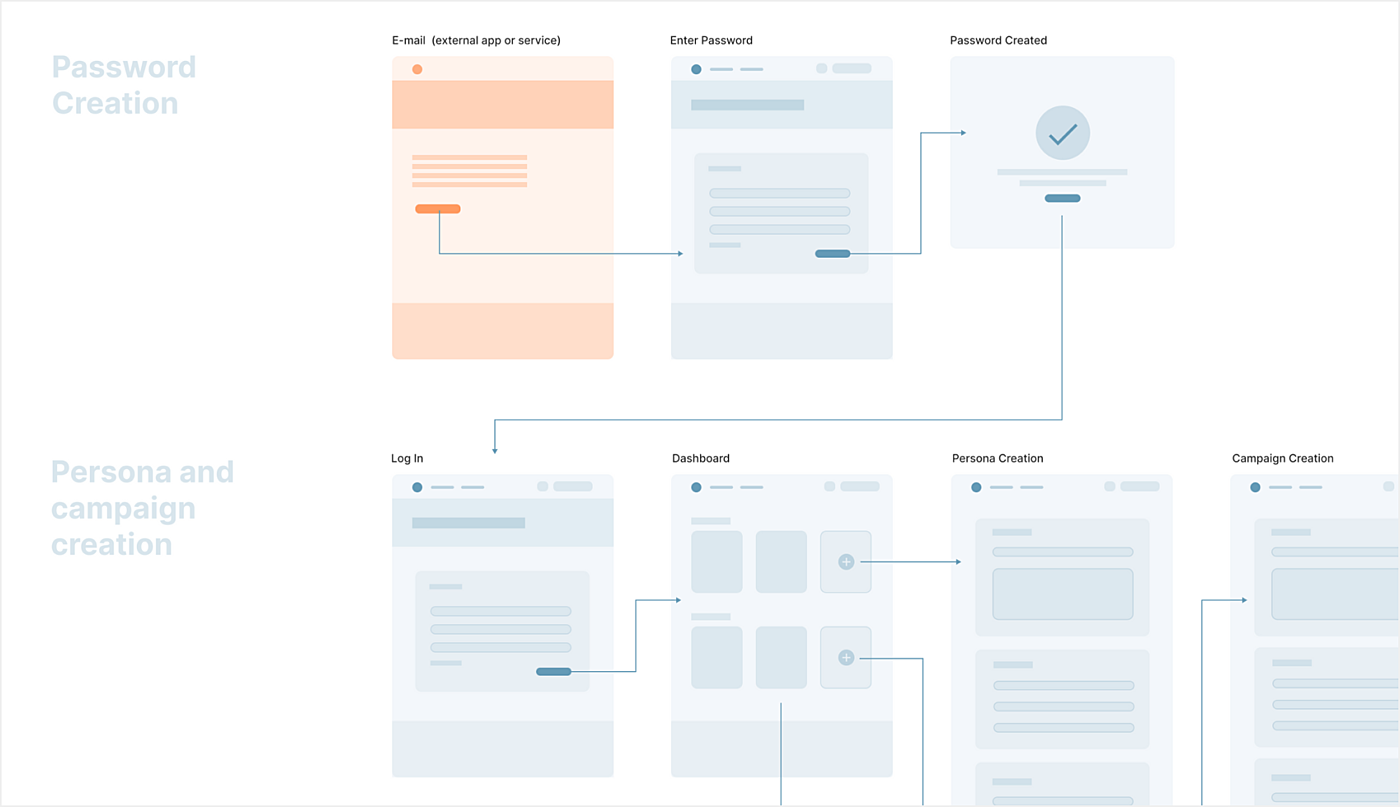
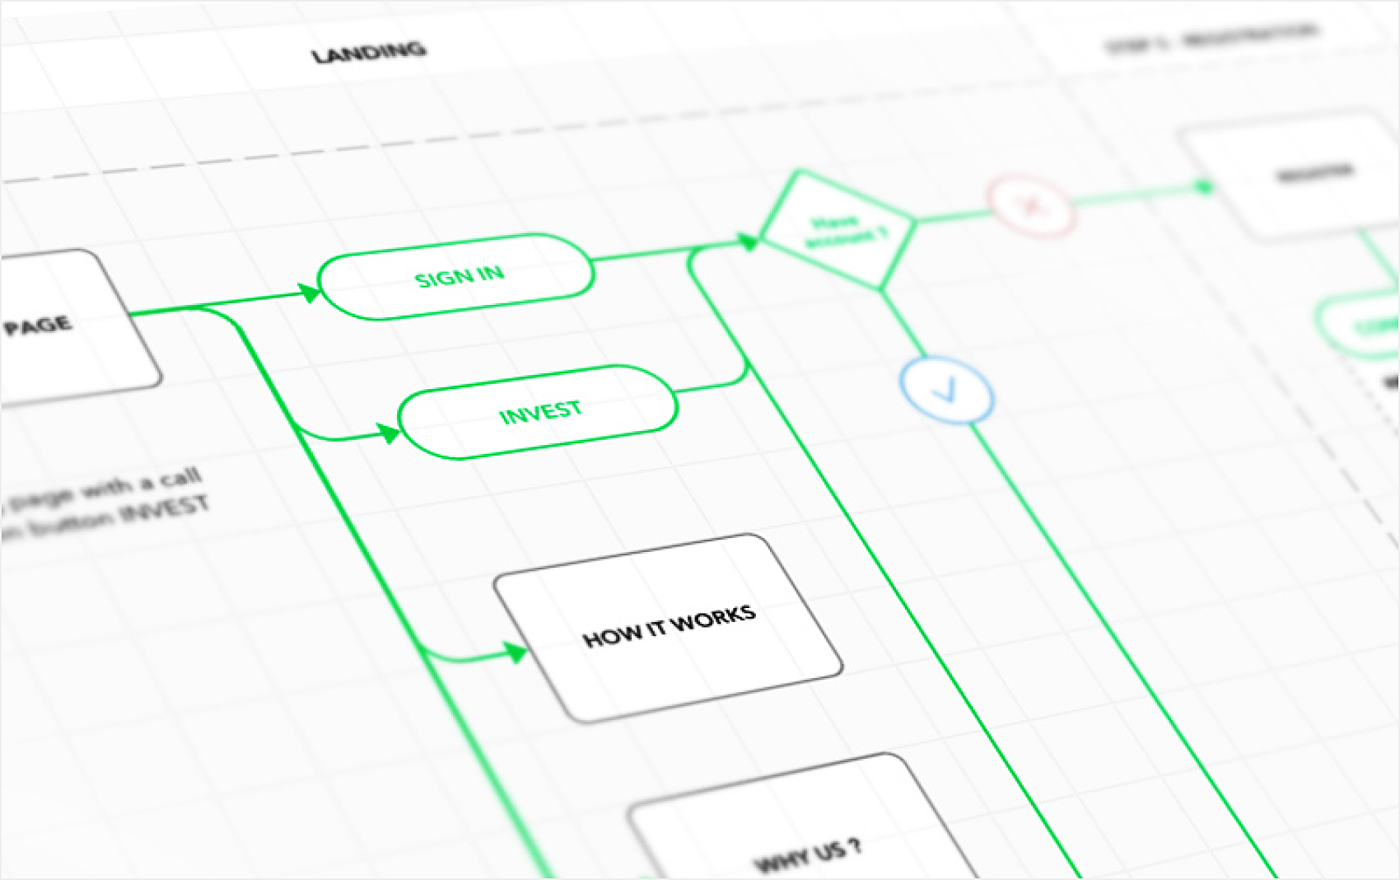
Basic user flows and static design mockups are great for giving customers a rough idea of the app’s probable functionality and for solving users’ problems. However, they are not enough to help people visualize how your design will work in reality. This is where UI prototyping comes in handy.
What is a UI prototype?
In simple words, UI prototype a simulation of the final project created to test whether the flow of the product is smooth and consistent or not. Stakeholders and potential customers are able to click through a prototype on a device and see all the elements in action. Prototypes can be created at any stage of the design process to demonstrate ideas that might be difficult to express with words alone.

What are the steps of user interface prototyping?
Depending on the problems you’re trying to solve, there are three UI prototyping types:
- Low fidelity (paper)
- Medium fidelity (clickable prototypes)
- High fidelity (advanced interactions and transitions)

Low Fidelity
Pencil and paper are the best tools for sketching ideas out quickly and with minimal cost. Rough user flows and wireframes are enough to demonstrate various screen states and to get ideas across.

Medium Fidelity
When all user flows are defined and a mockup of initial screens has been created, it’s time to link them together to create a clickable prototype that will look close to the final design. This prototype design shouldn’t be detailed, it should only be enough to let the user get a feel for the final design while testing out the flows.

High Fidelity
When user flows have been tried and tested, it’s time to create and fine-tune animations to show to the development team. High fidelity is the most robust UI prototype type because it provides functionality, usability, and realism all in one. Stakeholders get a full picture of how your application or website will look and they can even interact with it.

Great tools to use on each prototyping step
- To make low fidelity prototypes even better, you can use a software like POP to take photos of your paper sketches and turn them directly into interactive prototypes in very little time.
- For medium fidelity prototypes, use InVision. It allows designers to set hotspots on pages that can be clicked to proceed to the next user flow stage without worrying about detailed animations.
- With high fidelity prototypes, we recommend the use of apps like Principle and Framer (if you know a bit of coding) to make your UIs more interactive.
What are the benefits of using UI prototyping?
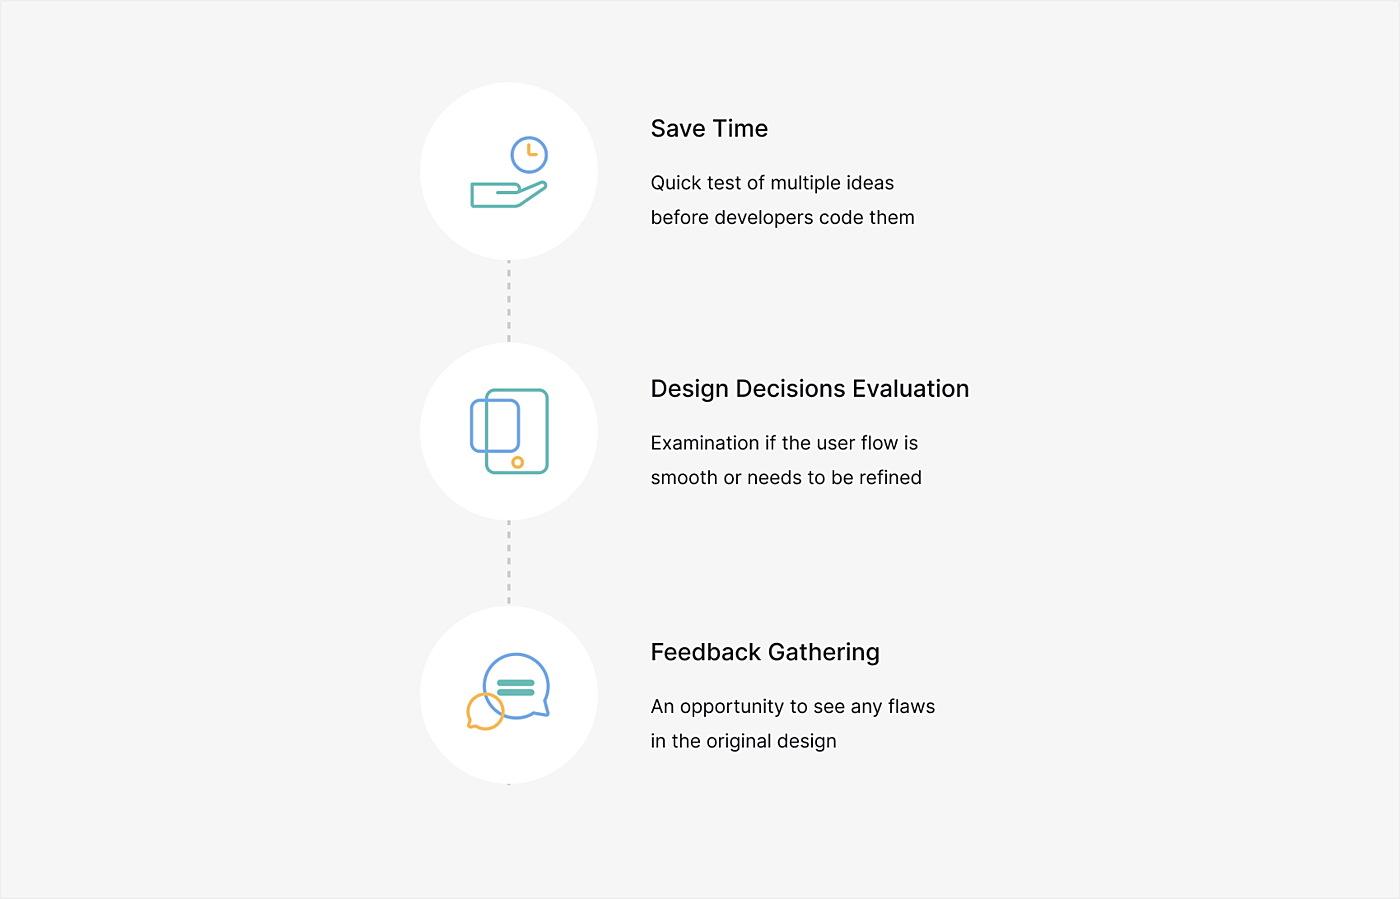
- Saves time. Prototypes allow designers to quickly test out multiple ideas before developers code them. It also considerably reduces the need for written explanations of design.
- Helps to evaluate design decisions. Prototypes allow you to examine if the user flow is smooth or needs to be refined, so that users can complete specific tasks in less time.
- Great for gathering feedback. By placing an actual product in the hands of the users, designers can see any flaws in the original design that they might not have noticed without the use of an interactive prototype.

